Prepare to revitalize your lawn with the ultimate guide to dethatching using a pull-behind tow. This comprehensive article, “How to Dethatch Lawn Pull Behind Tow: Tips for Dethatching Your Lawn with a Pull Behind Tow,” provides all the essential knowledge and expert advice you need to achieve a lush, healthy lawn.
Discover the secrets of selecting the right dethatcher, preparing your lawn for the process, and executing the dethatching technique flawlessly. With clear instructions and troubleshooting tips, you’ll be equipped to tackle this lawn care task with confidence and achieve the vibrant, weed-free lawn you’ve always desired.
Equipment Selection
Selecting the appropriate pull-behind dethatcher for your lawn is crucial to ensure effective and efficient dethatching. Various types of dethatchers are available, each designed for specific lawn conditions and sizes.
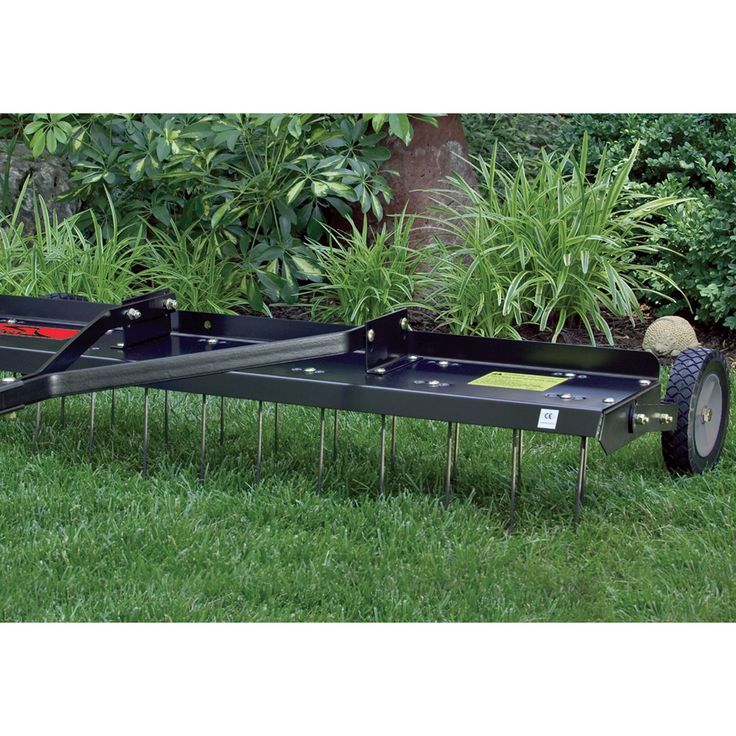
Types of Pull-Behind Dethatchers
- Spring-tine Dethatchers:Feature flexible tines that penetrate the lawn to remove thatch and loosen compacted soil.
- Verticutting Dethatchers:Utilize sharp blades to cut into the lawn’s surface, slicing through thatch and promoting root growth.
- Vacuum Dethatchers:Combine dethatching capabilities with vacuum functionality, removing thatch and debris simultaneously.
Factors to Consider When Choosing a Dethatcher
- Lawn Size:Smaller lawns may require a smaller, more maneuverable dethatcher, while larger lawns benefit from wider, heavier models.
- Thatch Thickness:The thickness of the thatch layer on your lawn determines the aggressiveness of the dethatcher you need.
- Lawn Health:Consider the health and sensitivity of your lawn when selecting a dethatcher. Spring-tine dethatchers are generally less aggressive, while verticutting dethatchers are more suitable for healthy lawns.
- Tow Vehicle:Ensure your tow vehicle has sufficient power and towing capacity for the dethatcher you choose.
Recommendations for Selecting the Right Dethatcher
- Small Lawns (up to 1 acre):Spring-tine or vacuum dethatcher with a width of 36-48 inches.
- Medium Lawns (1-2 acres):Verticutting dethatcher with a width of 48-60 inches.
- Large Lawns (over 2 acres):Wide vacuum dethatcher with a width of 60 inches or more.
Lawn Preparation
Dethatching is a crucial step in lawn maintenance, removing the layer of dead grass and organic matter that can accumulate over time. This layer can prevent water, nutrients, and sunlight from reaching the soil, hindering the growth of healthy grass.
The ideal conditions for dethatching a lawn are when the soil is moist but not soggy, and the grass is actively growing.
Before dethatching, it’s essential to prepare your lawn to ensure the best results. Begin by mowing the lawn to a height of 2-3 inches, removing any excess grass that could interfere with the dethatching process. Water the lawn deeply the day before dethatching to soften the soil and make it easier for the dethatching tool to penetrate.
Removing Debris
Before dethatching, it’s crucial to remove any debris from the lawn, such as leaves, sticks, or stones. These obstacles can damage the dethatching tool or interfere with its effectiveness. Use a rake or blower to clear away any debris, ensuring a smooth dethatching process.
Importance of Dethatching in Spring or Fall
The best time to dethatch a lawn is in the spring or fall when the grass is actively growing and can recover quickly from the dethatching process. Dethatching in the spring helps remove the winter buildup of dead grass and debris, promoting new growth.
In the fall, dethatching removes the summer buildup of thatch, allowing the lawn to breathe and absorb nutrients more effectively.
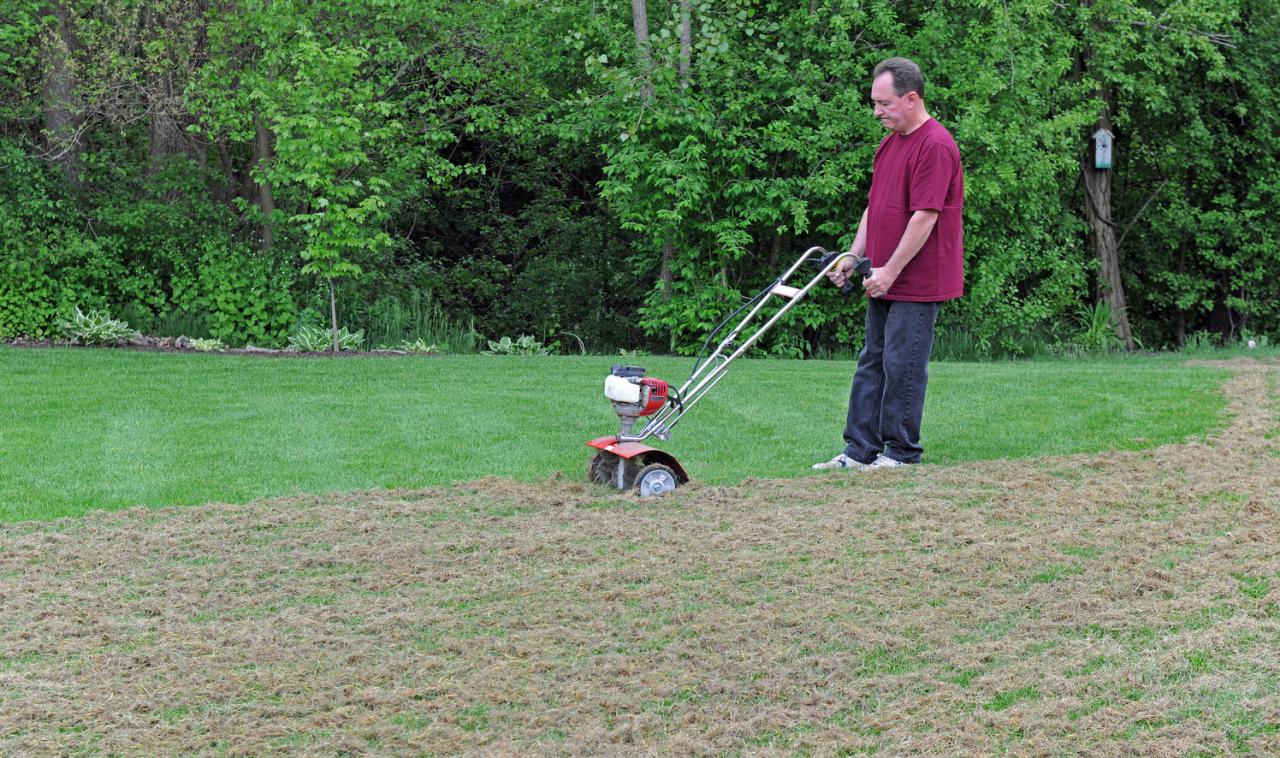
Dethatching Process
Dethatching is the process of removing excess thatch from your lawn. Thatch is a layer of dead grass and other organic matter that accumulates between the soil and the blades of grass. A thick layer of thatch can prevent water and nutrients from reaching the roots of the grass, leading to a weak and unhealthy lawn.
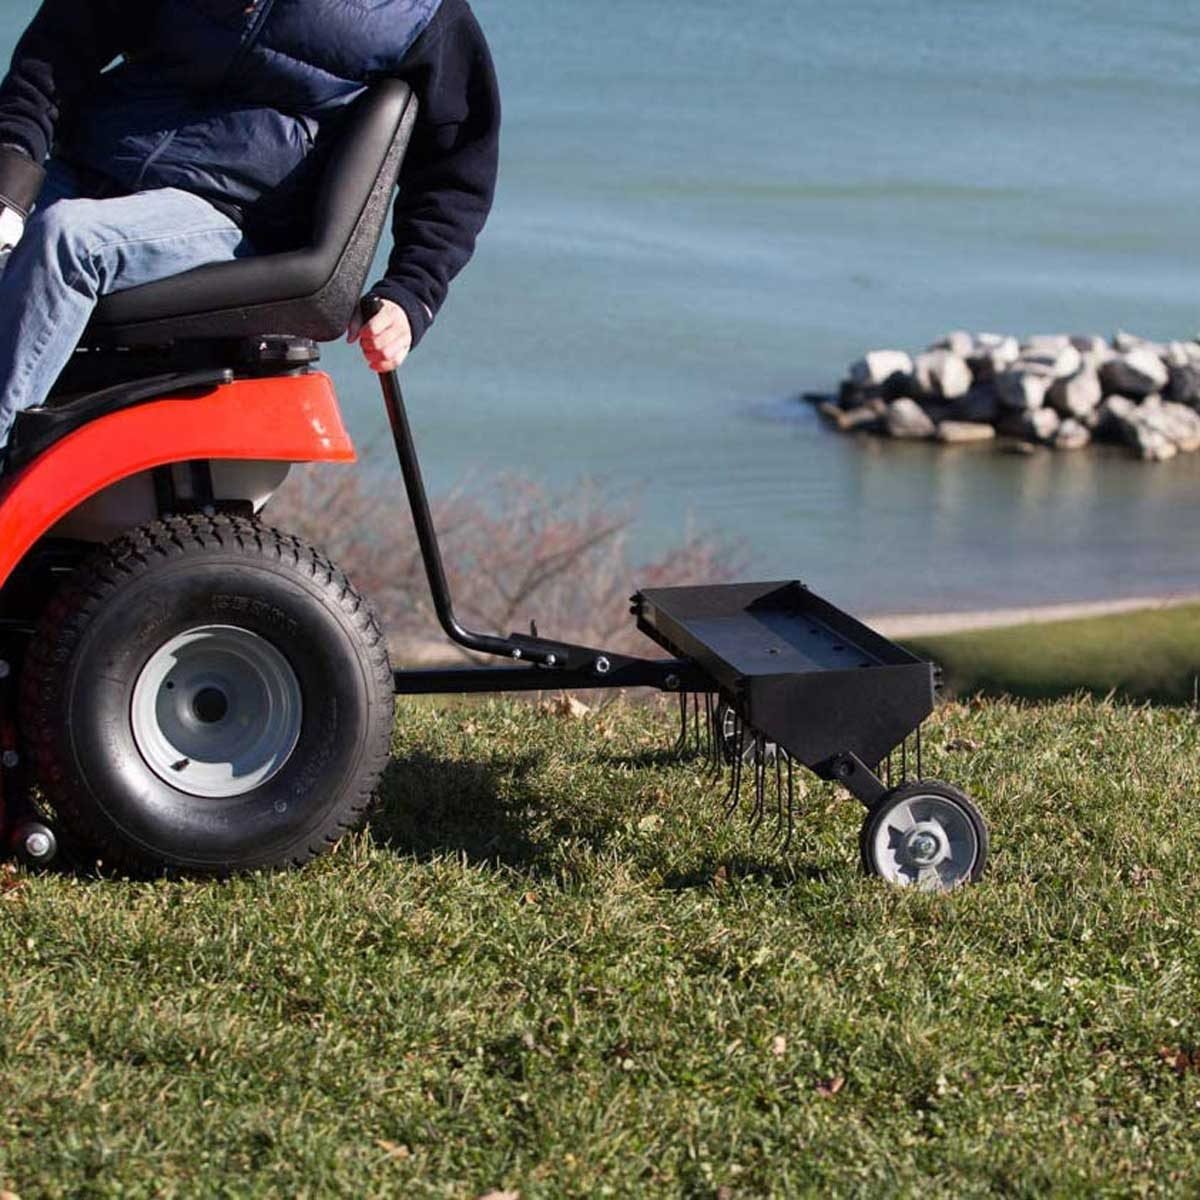
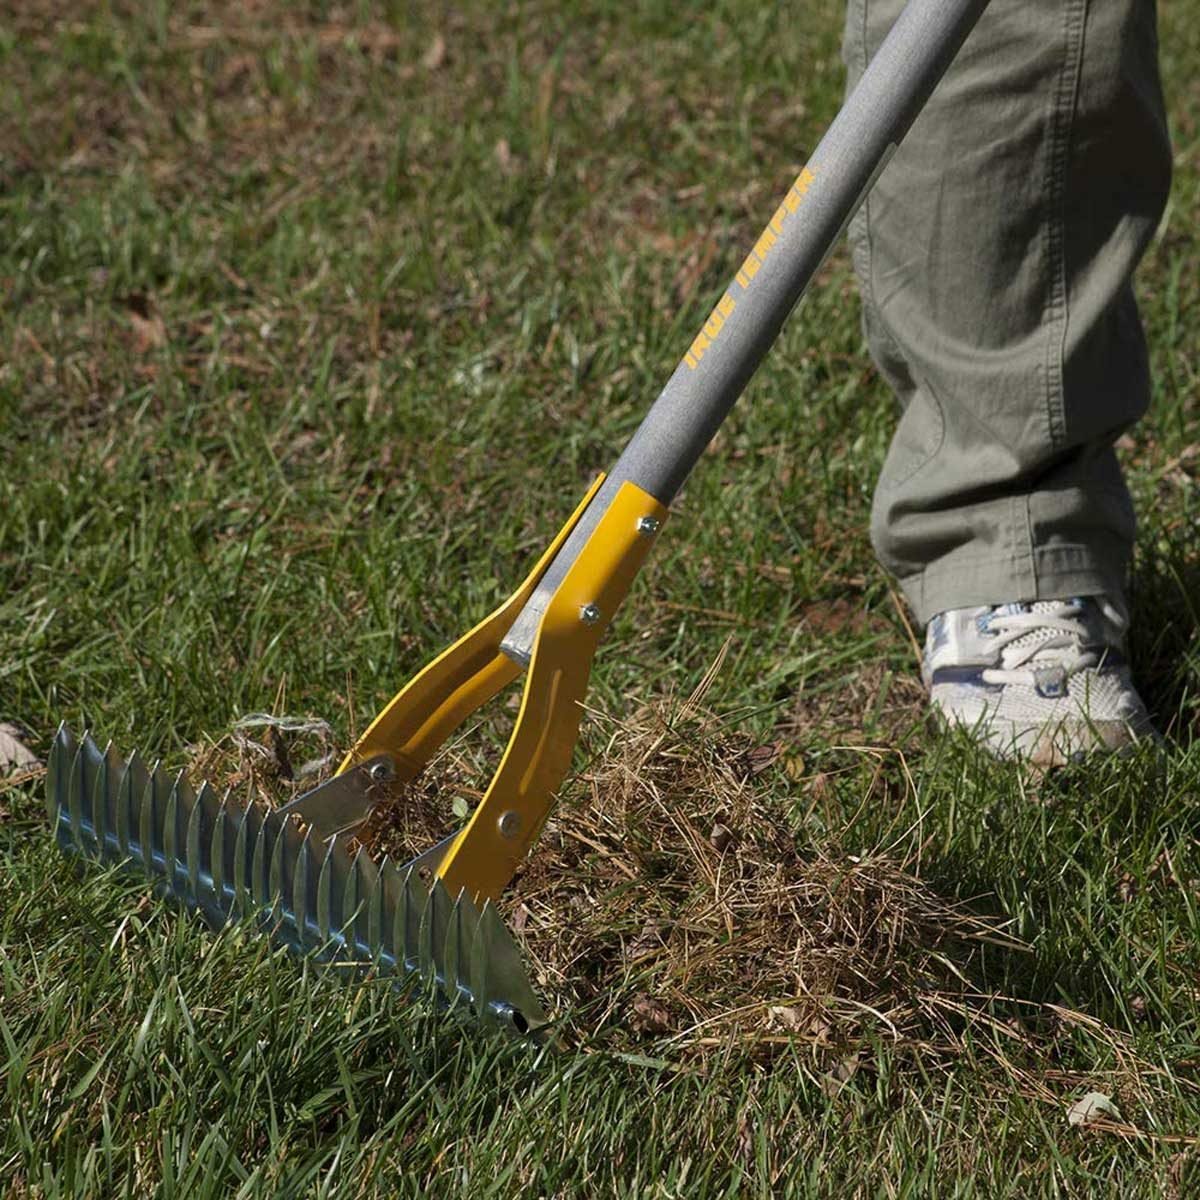
Dethatching can be done with a variety of tools, including a dethatching rake, a dethatching machine, or a pull-behind tow. A pull-behind tow is a dethatching machine that is attached to the back of a lawn tractor or riding mower.
Pull-behind tows are more powerful than dethatching rakes and can remove a thicker layer of thatch.
Proper Dethatching Technique and Speed
To dethatch your lawn with a pull-behind tow, follow these steps:
- Attach the pull-behind tow to the back of your lawn tractor or riding mower.
- Adjust the depth of the dethatching blades. The blades should be set to a depth of about 1/2 inch.
- Start the engine and drive the lawn tractor or riding mower over the lawn in a straight line.
- Dethatch the lawn in multiple directions. This will help to remove thatch from all areas of the lawn.
- Continue dethatching until you have removed all of the thatch from the lawn.
The speed at which you dethatch your lawn will depend on the thickness of the thatch. If the thatch is thick, you will need to dethatch the lawn at a slower speed. If the thatch is thin, you can dethatch the lawn at a faster speed.
Importance of Dethatching in Multiple Directions
Dethatching in multiple directions is important because it helps to remove thatch from all areas of the lawn. If you only dethatch the lawn in one direction, you may miss some areas of thatch. Dethatching in multiple directions will help to ensure that all of the thatch is removed from the lawn.
Lawn Care After Dethatching
After dethatching your lawn, it’s crucial to provide proper care to promote its recovery and maintain its health. Watering, fertilizing, and potentially aerating are essential steps in the post-dethatching process.
Watering
Water your lawn deeply and thoroughly after dethatching. This helps settle the loosened thatch and soil, promoting root growth and hydration. Water until the top 6-8 inches of soil are moist. Avoid overwatering, as it can lead to disease.
Once you’ve dethached your lawn using the pull behind tow method, you can tackle another project, like building an RV slide out. Here’s a step-by-step guide to help you build your own RV slide out, so you can enjoy the outdoors without having to leave the comfort of your RV.
When you’re finished with that project, come back here for more tips on dethatching your lawn with a pull behind tow.
Fertilizing, How to Dethatch Lawn Pull Behind Tow: Tips for Dethatching Your Lawn with a Pull Behind Tow
Fertilize your lawn 2-4 weeks after dethatching. This provides nutrients to the newly exposed soil and helps the grass recover from the stress of dethatching. Use a balanced fertilizer with a ratio of 3:1:2 (nitrogen, phosphorus, potassium).
Aeration
Consider aerating your lawn after dethatching if the soil is compacted. Aeration creates holes in the soil, allowing water, air, and nutrients to reach the roots more easily. This can improve overall lawn health and prevent future thatch buildup.
Troubleshooting Common Issues
Dethatching can occasionally encounter problems, but they can be resolved with the right approach.
Identifying Common Problems
* Clogged tines:Debris can accumulate on the tines, hindering their effectiveness.
Uneven dethatching
Improper dethatching technique or lawn preparation can result in uneven thatch removal.
Scalping
Aggressive dethatching can remove too much thatch, exposing the soil and damaging the lawn.
Lawn damage
Dethatching can stress the lawn if done incorrectly or at the wrong time of year.
Troubleshooting and Resolution
* Clogged tines:Regularly clean the tines during dethatching to prevent clogging.
Uneven dethatching
Ensure the dethatcher is level and set to the appropriate depth. Overlap passes to avoid missed areas.
Scalping
Adjust the dethatcher depth setting to a shallower level. Avoid dethatching when the lawn is dry or stressed.
Lawn damage
Dethatch during the appropriate season, when the lawn is actively growing. Avoid dethatching excessively or too frequently.
Prevention Tips
* Regular mowing:Mowing regularly helps prevent thatch buildup.
Proper watering
Avoid overwatering or underwatering, as both can contribute to thatch accumulation.
Aerating
Aeration creates holes in the soil, allowing water and nutrients to reach the roots and reducing thatch.
Dethatching at the right time
Dethatch in spring or fall when the lawn is actively growing and can recover quickly.
Clarifying Questions: How To Dethatch Lawn Pull Behind Tow: Tips For Dethatching Your Lawn With A Pull Behind Tow
What are the benefits of dethatching my lawn?
Dethatching removes the layer of dead grass and organic matter that accumulates on your lawn, improving air circulation, water penetration, and nutrient absorption. It also reduces the risk of pests and diseases, promotes healthy root growth, and enhances the overall appearance of your lawn.
How often should I dethatch my lawn?
The frequency of dethatching depends on the type of grass you have and the amount of thatch buildup. In general, it’s recommended to dethatch cool-season grasses once a year in the spring or fall, and warm-season grasses every two to three years.
Can I dethatch my lawn myself?
Yes, dethatching your lawn yourself is possible with the right equipment and technique. However, if you have a large lawn or encounter any difficulties, consider hiring a professional lawn care service for assistance.